
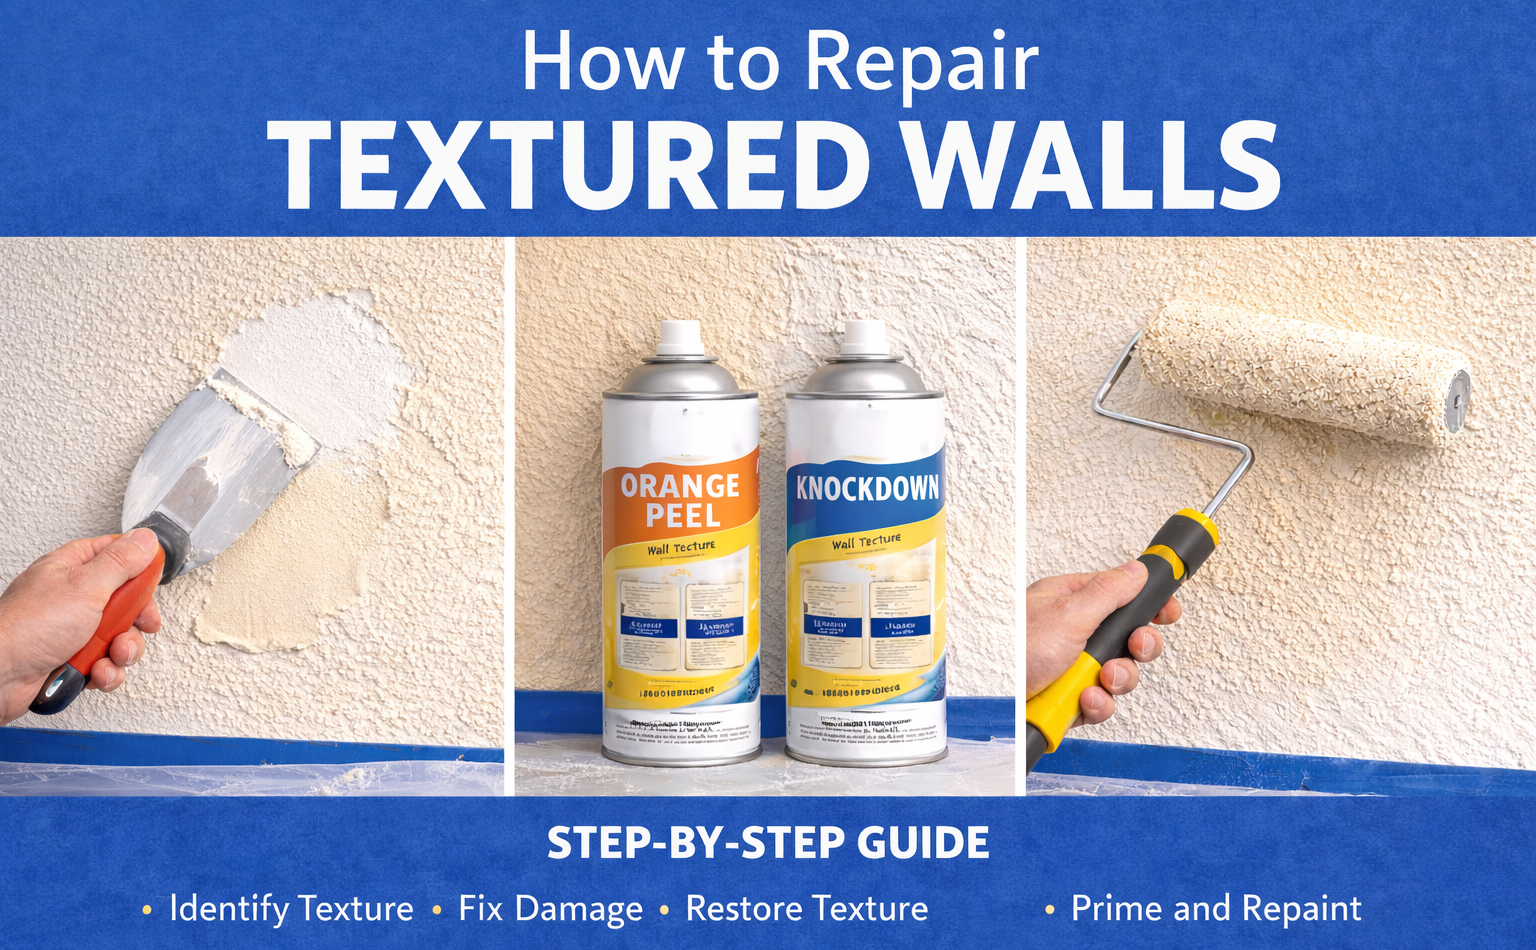
Repairing a painted wall is straightforward—until texture is involved. Smooth walls forgive small mistakes, but textured walls can easily reveal patches if the texture isn’t recreated correctly.
The good news: textured wall repairs are absolutely DIY-friendly once you understand the process. The key is not just fixing the damage, but restoring the texture before repainting.
This guide walks you through exactly what to do, step by step.
Step 1: Identify Your Wall Texture
Before starting, identify the texture you’re working with. Most homes fall into one of these categories:
Common wall textures include:
- Orange peel – Fine, sprayed bumps resembling citrus skin (very common in newer homes)
- Knockdown – Heavier splatter that’s flattened slightly
- Skip trowel – Hand-applied arcs with a Mediterranean or rustic look
- Sand texture – Subtle grit mixed directly into paint
If you’re unsure, compare the wall under side lighting—texture becomes much more visible.

Step 2: Repair the Damage First
No matter the texture, the underlying repair process is the same.
- Scrape away any loose or peeling paint
- Fill holes or dents with spackle (small) or joint compound (larger)
- Let it dry fully
- Sand lightly until flush with the surrounding wall
- Wipe away dust
At this stage, the patched area will look too smooth. That’s expected—and exactly why texture must be added back.

Step 3: Re-Create the Texture (The Most Important Step)
Option A: Spray-On Texture (Easiest)
Best for orange peel and knockdown textures

How to apply successfully:
- Shake the can thoroughly
- Practice on cardboard first
- Spray lightly from 12–18 inches away
- Build texture slowly in layers
For knockdown texture, wait 5–10 minutes after spraying, then lightly flatten the peaks with a wide putty knife.
Tip: Multiple light passes look far more natural than one heavy spray.
Option B: Hand-Applied Texture (Best Control)
Ideal for skip trowel or small, irregular patches

- Thin joint compound slightly (yogurt consistency)
- Apply with a putty knife, sponge, or stiff brush
- Mimic the surrounding pattern—not perfection
Randomness is what makes hand textures believable.
Option C: Sand Texture Paint
Best for sand-textured walls

- Use premixed sand texture paint, or
- Add texture additive to your wall paint. The amount of the texture additive could normally change the texture to either heavier or more subtle. Practice on a board before actual paint is necessary to figure out an optimal mix.
- Roll lightly and feather outward
Beside the texture additive, the roller also has a significant impact on the final sand-textured wall. The nap length is the most important factor—shorter naps (around ½”) create a very subtle texture, while a ¾” nap produces the most natural, balanced sand finish and is the most commonly used choice. Longer naps (1″ or more) deposit heavier material and can make the wall look overly rough or uneven indoors. The roller type also matters: standard woven rollers create a random, organic texture that looks natural, while specialty or patterned rollers often leave artificial, repeating marks. Rolling pressure affects the outcome as well—light pressure allows the sand to sit on the surface evenly, while heavy pressure flattens the grit and creates shiny or patchy areas. Finally, technique is key: work in small sections, roll in a light cross-hatch pattern, and avoid over-rolling, as multiple passes can break down the texture and make it look unnatural.
Step 4: Let the Texture Fully Dry
Drying time depends on the method:
- Spray texture: 30 minutes to 2 hours
- Hand-applied texture: several hours or overnight
Never paint over damp texture—it will flatten and stand out.
Step 5: Prime and Paint Correctly
Best practices:
- Always prime first to prevent flashing (stands out as dull or shiny areas after painting)
- Use a roller, not a brush for both primer and paint
- Better to match roller nap to texture:
- Light texture → ⅜″ nap
- Heavy texture → ½″–¾″ nap
For highly visible areas, painting corner-to-corner often looks better than spot touch-ups.
For guide on paint color choice, refer to another article: How to Choose the Right Paint Color (Without Regret).
Common Mistakes to Avoid
- Skipping texture and painting over a smooth patch
- Applying too much texture at once
- Painting without primer
- Using a brush on textured surfaces
Each of these will leave a visible “repair scar.”
To summarize
Textured walls don’t require professional repairs—they require the right sequence:
- Repair the surface
- Restore the texture
- Prime and repaint properly
Once you understand that texture comes before paint, your repairs can become virtually invisible.




Leave a Reply